So I hope that justifies my spastic posting with everyone! Lol :]
Supplies:
Off-brand Post-it sized memo pad (you should be able to pick up a pad @ WalMart with about 300 or so sheets for under $3)
Bone Folder (optional)
Origami Board (optional)
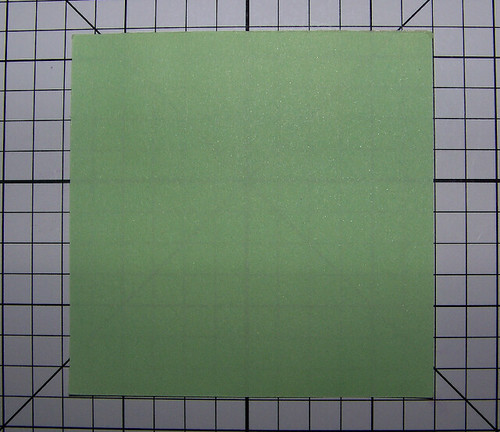 Step 1: start out with a fresh sheet of paper.
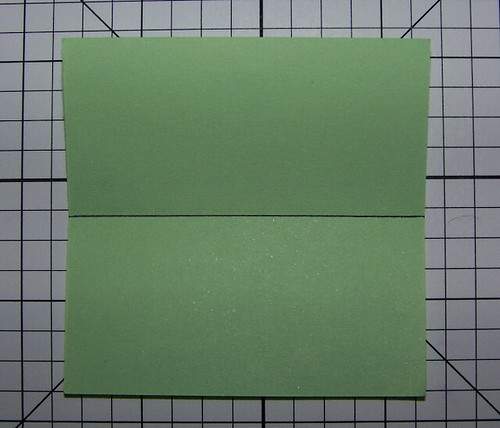 Step 2: Now fold in half lengthwise, and crease with either the bone folder or your fingernail so its nice and exact. Then unfold again. This center line is merely going to be a guideline for the next two folds....
 Step 3: Now fold the top half inward to meet the center crease. Then flip 180˚ and do the same fold with the other half
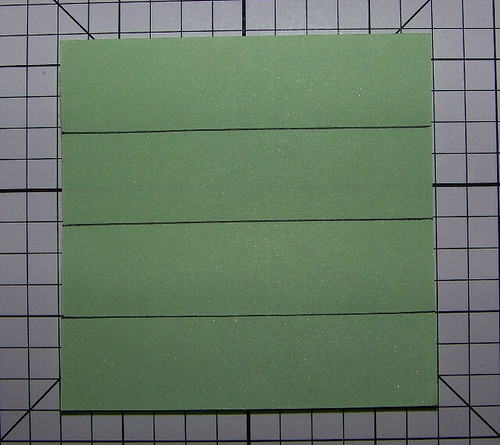 Step 4: Next unfold the paper and lay it flat. It should look like this, with creases where I've drawn the lines.
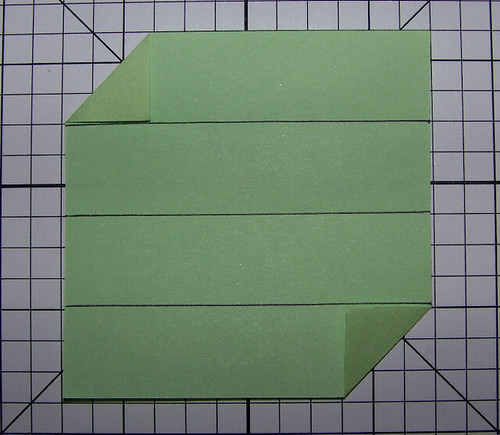 Step 5: Now take the top left corner and fold it down so it lays flush on the top-most crease. Then spin 180˚ and do the same with the opposite corner.
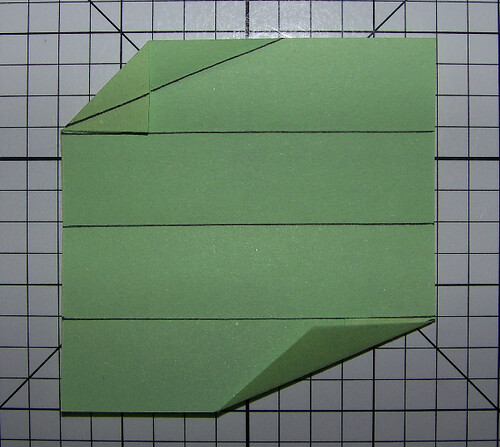 Step 6: This next fold is a little bit harder to explain. I drew a line on the top section showing WHERE to fold and the bottom section shows the COMPLETED fold
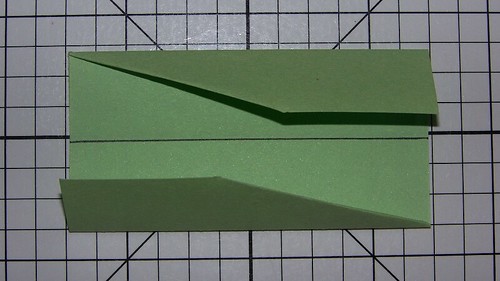 Step 7: Now take both outer fourths and fold them inwards. This shouldn't require any creasing at all because you're simply using the ones you had already established in step 3
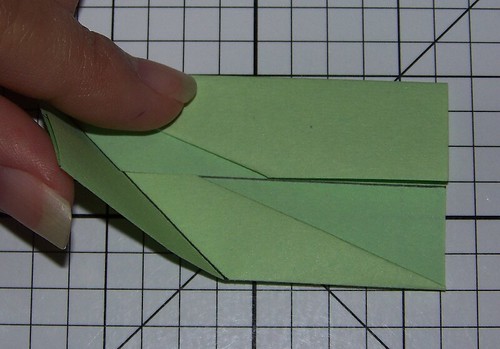 Step 8: Next take the left bottom corner and bring it up so the left edge is flush with the top
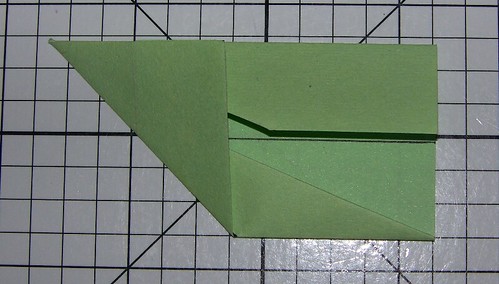 ... like this ^
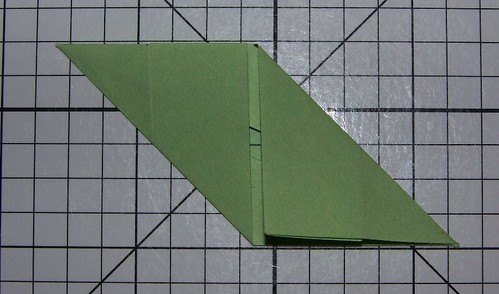 Step 9: Then spin 180˚ again and do the same to the other side.
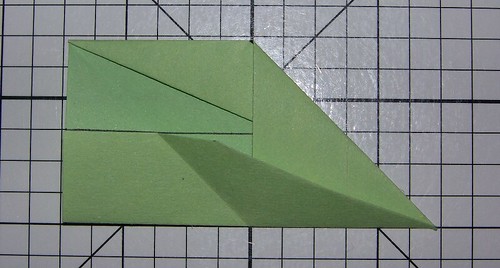 Step 10: Now take both triangles you just folded and tuck them into their corresponding inner flap
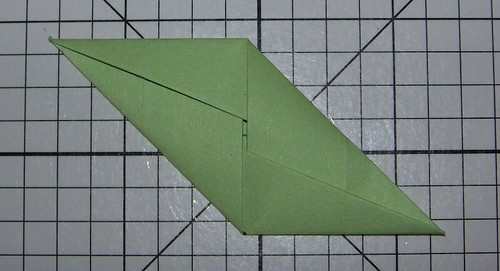 ... This is what your piece should look like after step 10
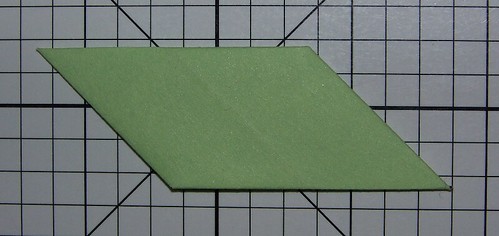 Step 11: Flip over to the completely blank side
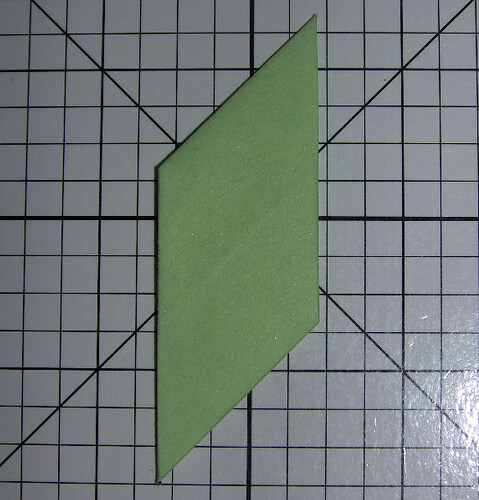 ... and then flip again, 90˚, so it now lays vertically
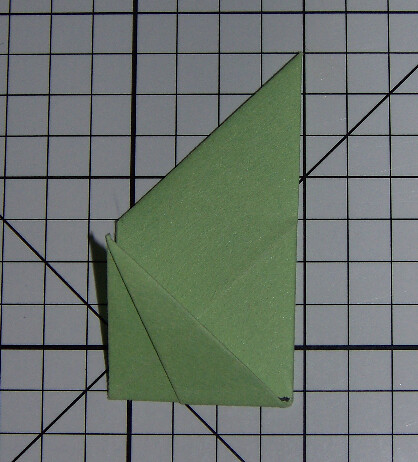 Step 12: Next take the bottom point and fold it upwards so it touches the base point of the slant like so ^ (This will be simple to do because of how the insides are folded. You should be able to feel where the exact fold point it by how much "fight" the fold gives you)
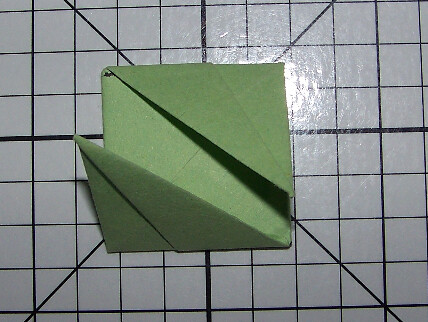 Step 13: Flip and do the same to the other side
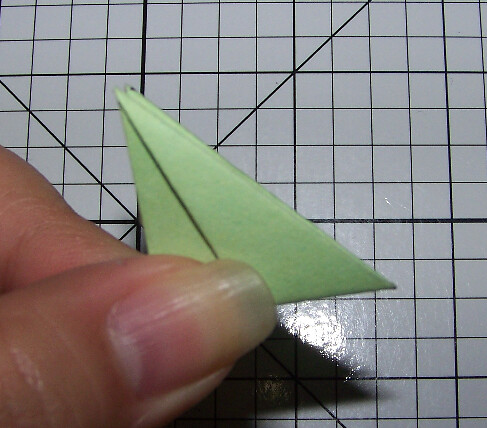 Step 14: Now take the piece and fold it down the middle...
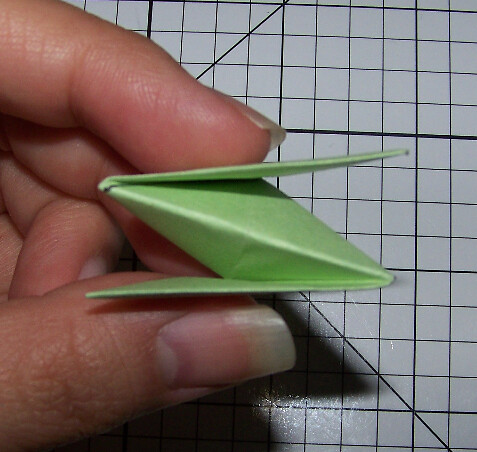 ... like so.
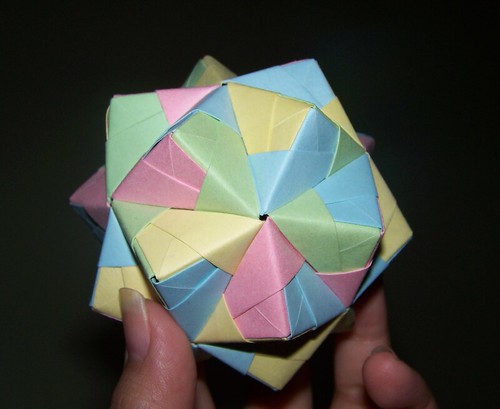
 FINISHED! Your piece should now look like this! If not then that simply shows how bad my teaching skills are *sigh* :]
***************
.*: THE END :*.


No comments:
Post a Comment